Custom Mosaic Template in PaintShop Pro
View the youtube video here: Custom Mosaic
PaintShop Pro has built in templates that you can use for generating photo mosaics. Many of them you can purchase for the price of an android app, and there are some free ones as well. This tutorial will cover some basic steps for how to make your own, or replicate ones that are in the library.
The amount of time spent creating one of these may not be worth $2, but it's great practice for manipulating vector graphics and working with masks.
Draw the Vector Shapes
Starting with a background image of a bed of roses, lets start drawing some vector shapes that will become the windows for the images we'll use. In the Preset Shapes, there is already a heart, so that one is easy. We'll add some rectangles for the next two windows, and use some basic vector graphic manipulations to give the shapes some curve. Note that each vector shape needs to be on its own vector layer.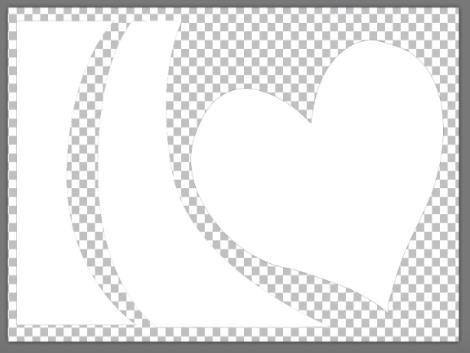
Create Separate Images
To be able to create the masks where the shapes are, we'll need to make independent images of each vector layer. This is because PaintShop Pro doesn't support using vector graphics as mask layers. So for each layer, we need to hide everything except for the one shape (layer) we care about, right-click and choose Copy Merged, and paste that as a new image in the workspace.
So now we should have our original image, and three other new images, each with a different shape
Creating Masks
Now for each shape layer we need to create a mask. First we need to convert the vector layers to rasters. Note that at this point you will lose the ability to manipulate the shapes as vector objects, so this either may be a good saving branch point, or just commit to these shapes going forward.Click the Mask icon in the Layers Palette and choose From Image. Here you can select one of the images you created in the prior step. Make sure to match the mask with the correct image so that your windows line up with the appropriate layer. Choose source opacity as the masking attribute.

So at this stage you should have a mask on each layer corresponding with the vector shape you created for that layer.

Add Images
Now that you have all your image windows setup, let's add the images. This can simply be done by dragging your desired image from your file explorer window in between the mask layer and the image layer. See the image below for this placement.
Once an image is in place you can use the Pick tool to scale, rotate or move the image into place.
Once all the images are arranged in their respective windows, it may be necessary to adjust the color, contrast, etc so that there is some consistency between the images. At this stage you are done.

In the video, I tricked myself into thinking there was actually a border around this image, but in fact it wast just how I snipped the image from the template window. So the following steps are optional.
Add Border (optional)
The following steps aren't necessary but they cover some tools that are useful to be familiar with. The first is adjusting the Canvas Size. Now that we have our final composition, to add a border at this stage we'd either need to Add Borders (which would flatten the image) or increase the Canvas Size.Before increasing the Canvas Size, let's add a new raster layer at the bottom. Then go to Image > Canvas Size. In this dialog, since we want our object to stay in the middle, in the Placement grid diagram we select the middle box. Then just adjust the dimensions until the desired border size is achieved.

This will produce and image with a transparent border around it.


In the end you'll end up with the image below. Although the border isn't part of the original design, I do like how it frames the image.

Comments
Post a Comment